A lot of people asked us about the screenprinting process at our Student Kickoff event, so we figured we'd share the process we used for our tote bags! We will admit that the process was not very professional, proper, or precise--but it was an exploration into a new art form for a lot of us, and we had a lot of fun.
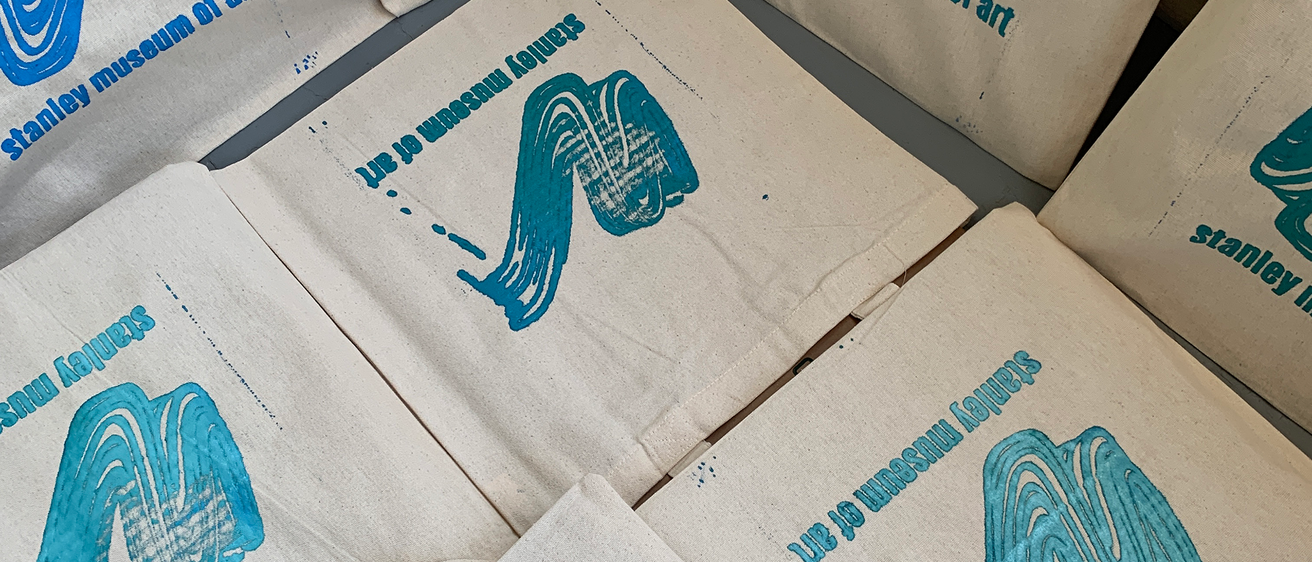
We really embraced the amateur look--we loved that the tote bags clearly looked handmade and sometimes came out messy, sloppy, or imperfect. Art is an oftentimes imprecise discipline, and we appreciate how little "mistakes" remind you that the art you're looking at (or the tote bag you're wearing) was made by a person!
Okay, now that we're off our soapbox--onto the good stuff. We'd obviously recommend taking a class if you're able, so you can learn proper techniques and best practices. You could also watch a ton of YouTube videos, or just buy a kit and read the instructions and hope for the best. Or you can follow our guide here... but we take no responsibility for your outcomes!
Materials:
- Speedball Advanced All-in-one Fabric Screenprinting Kit (we got ours at Blick- because we were printing tote bags, we needed the fabric printing version. If you just wanted to make prints on paper, you could probably get a different kit)
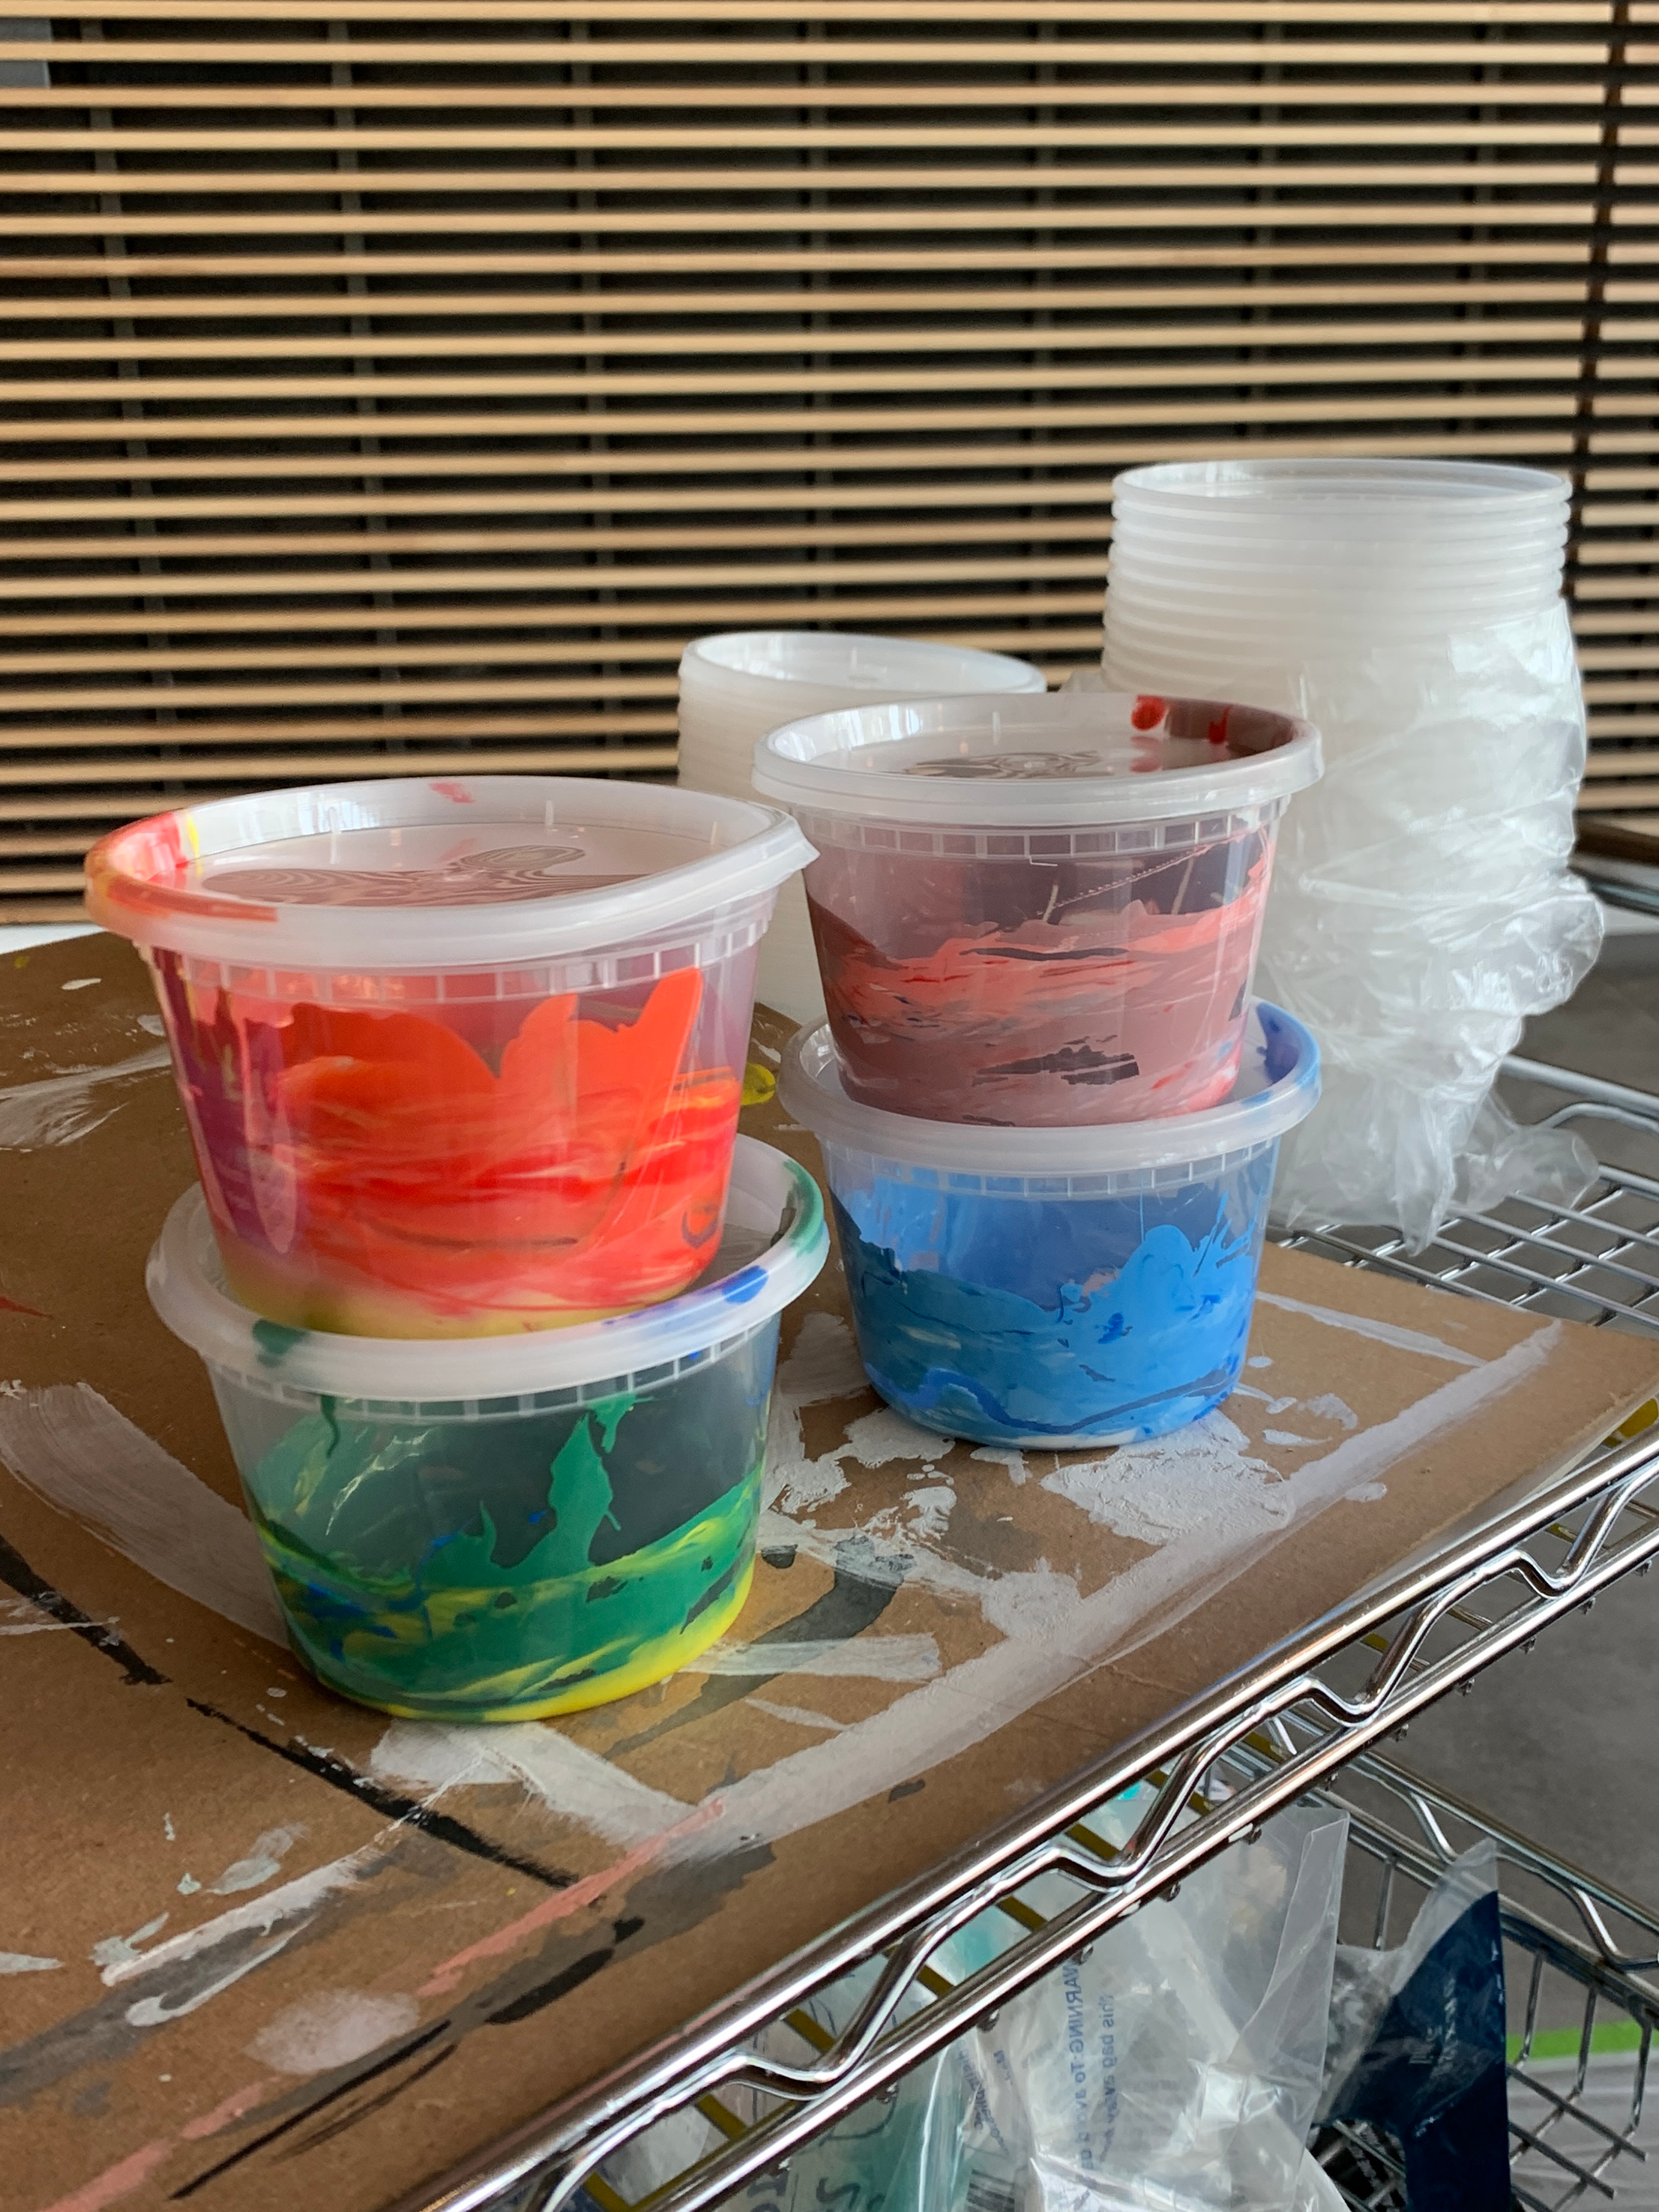
- Speedball fabric screen printing inks (the kits came with blue, red, white, and black- we also purchased yellow separately so we could mix a wider range of colors)
- Mylar, transparent paper
- Duct tape, masking tape, or painters' tape
- A dark room (a closet or a bathroom would work)
- -A large tub or sink (I used my bath tub at home- thank goodness for my detachable shower head)
Instructions
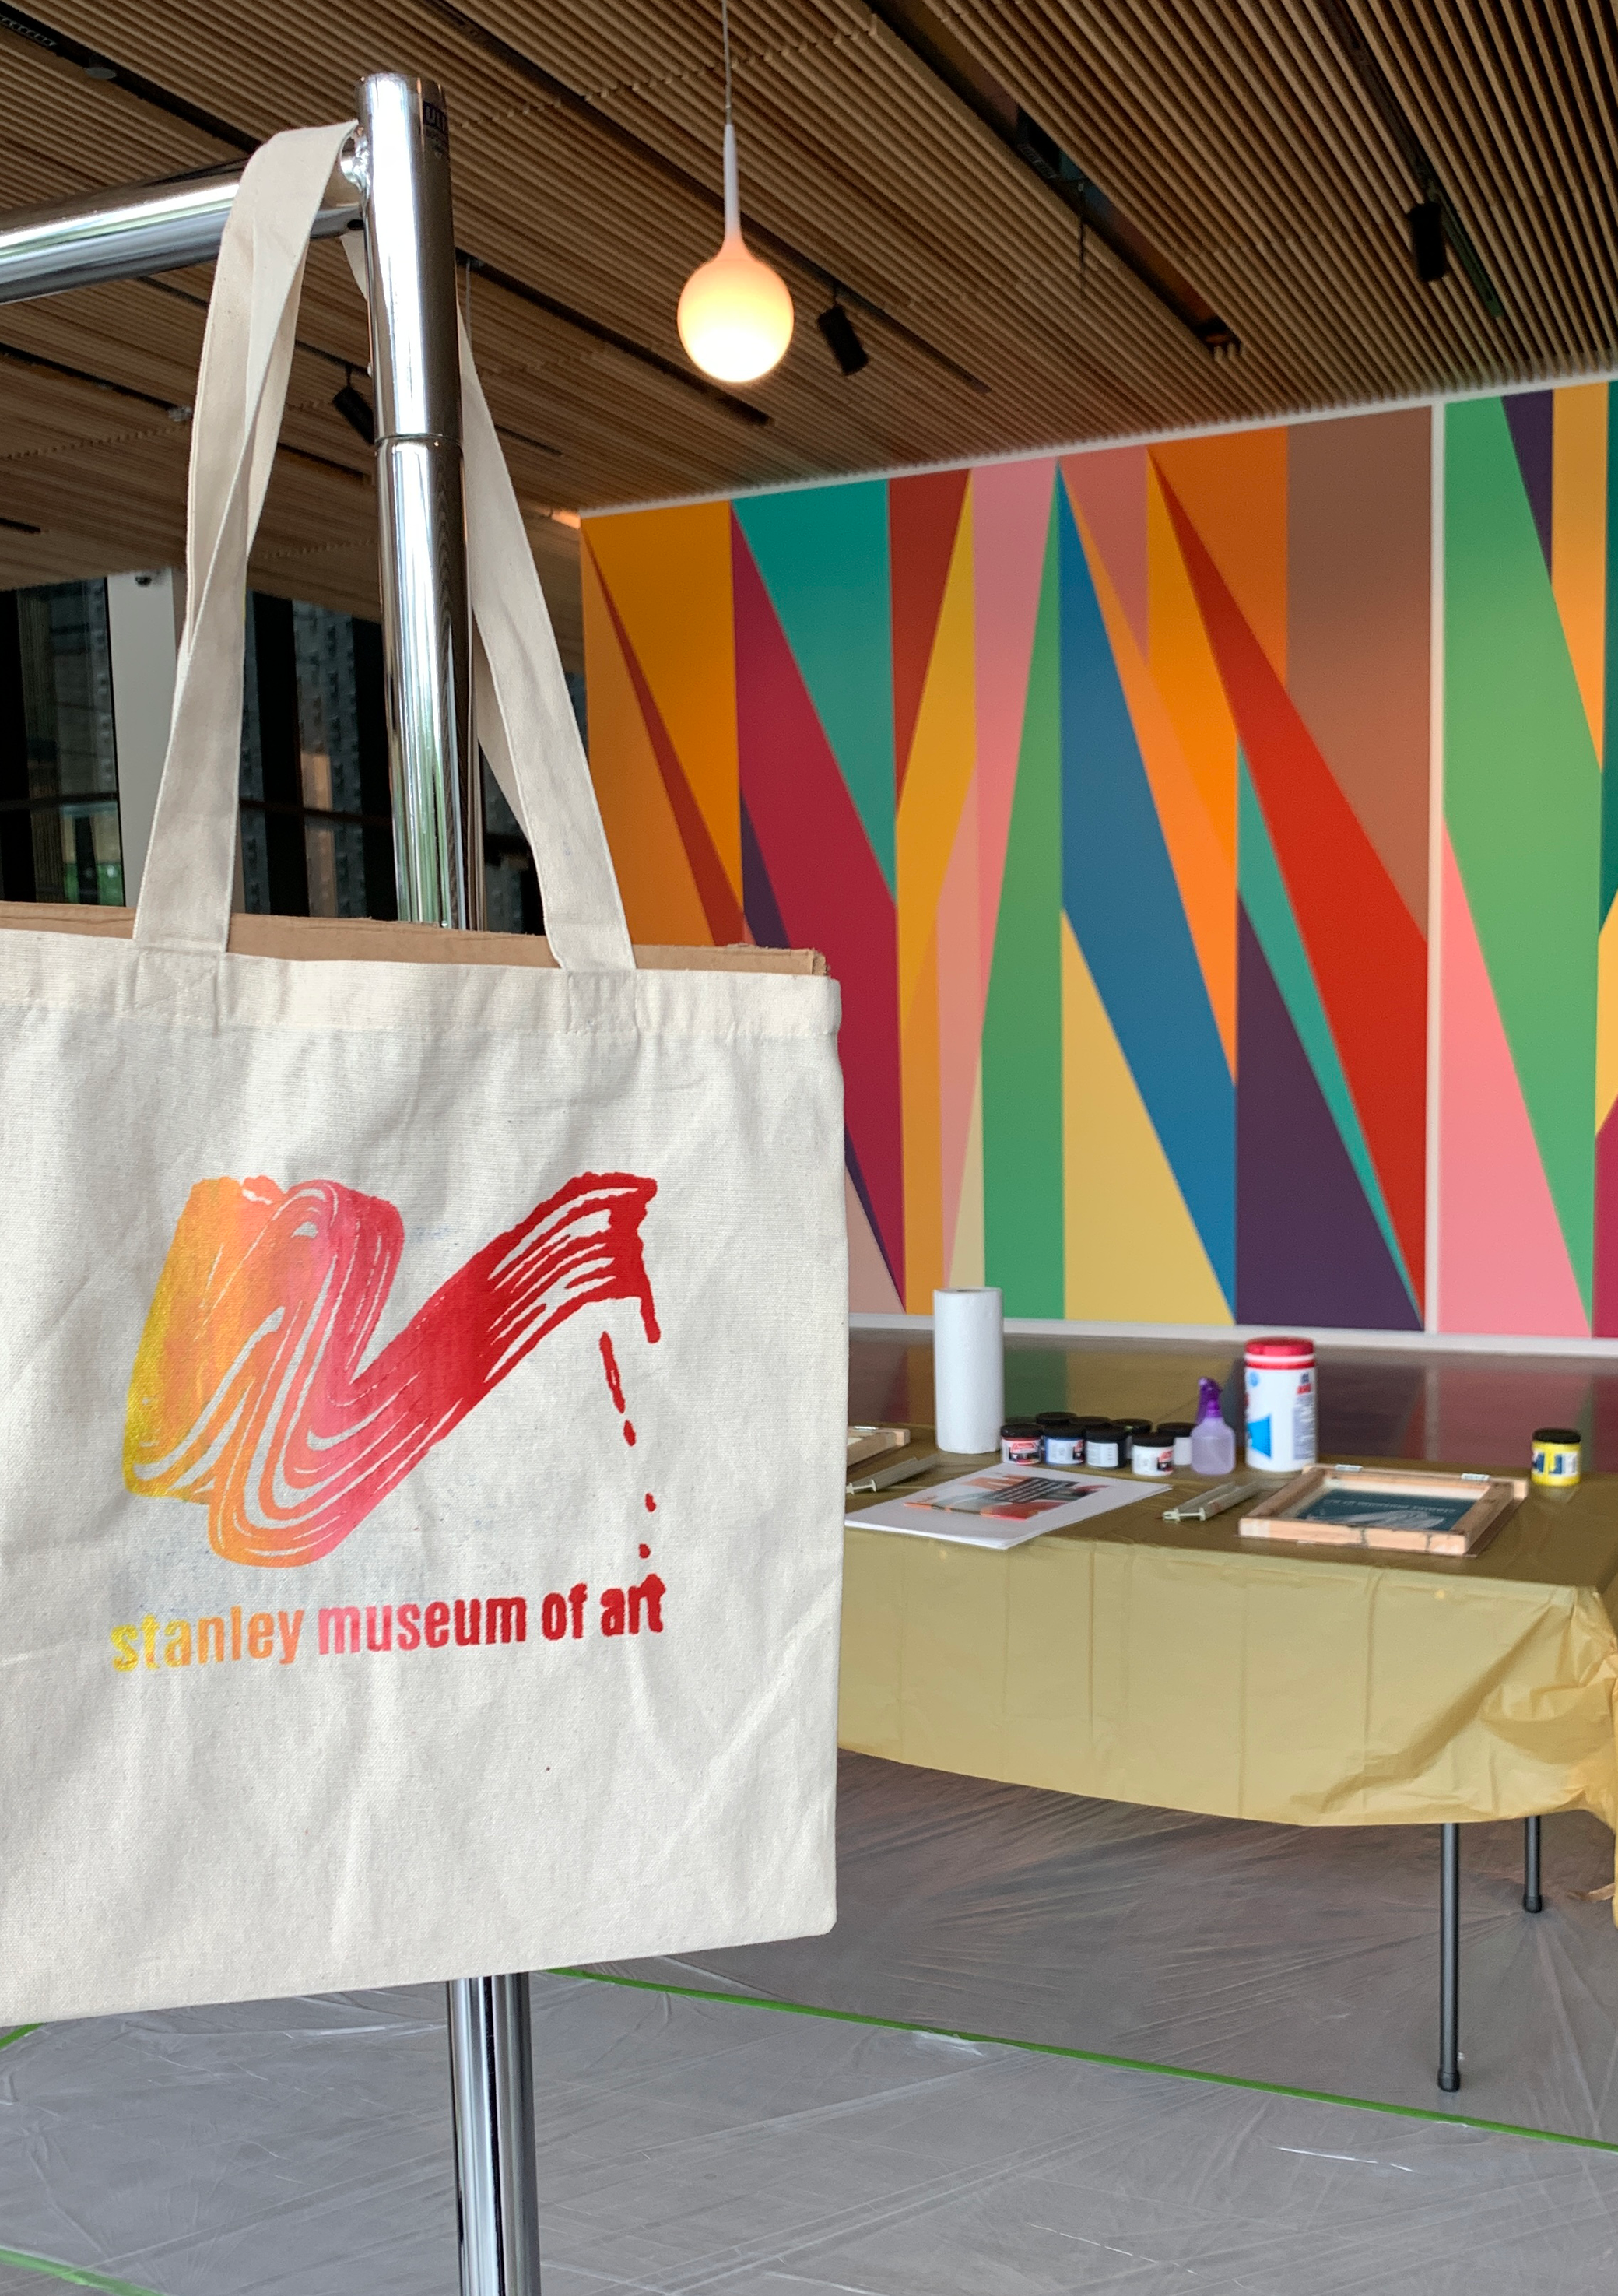
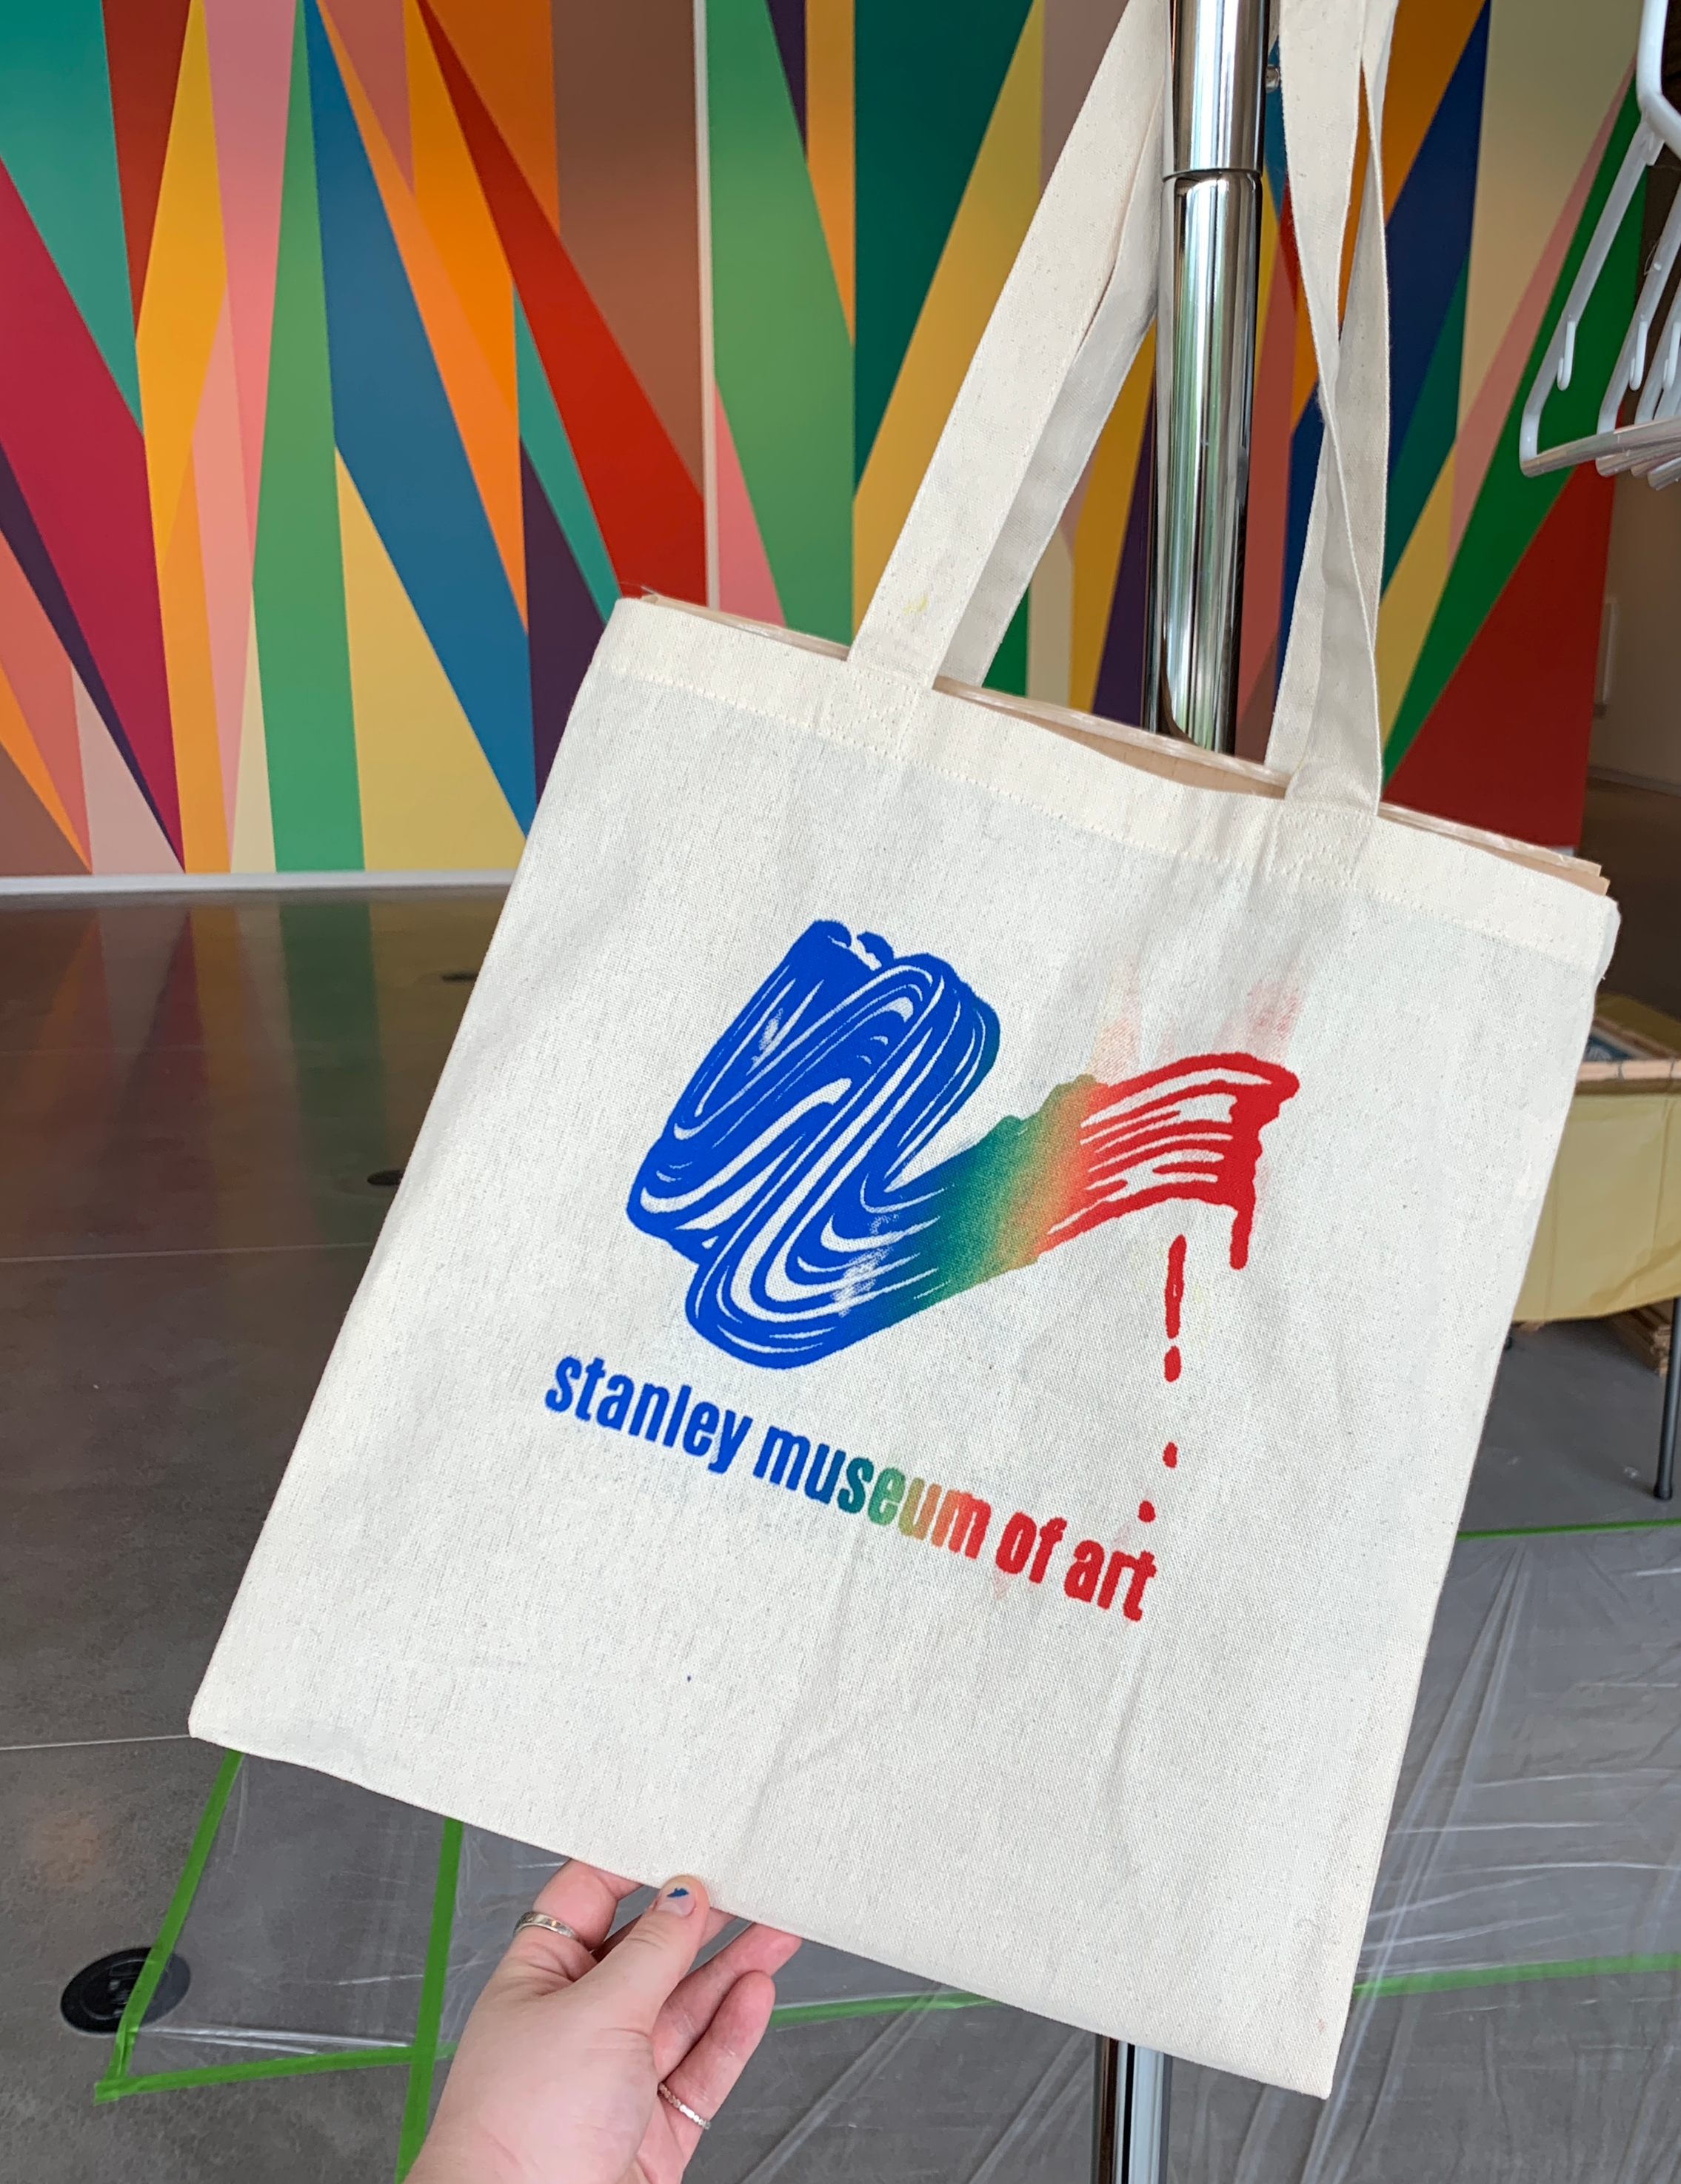
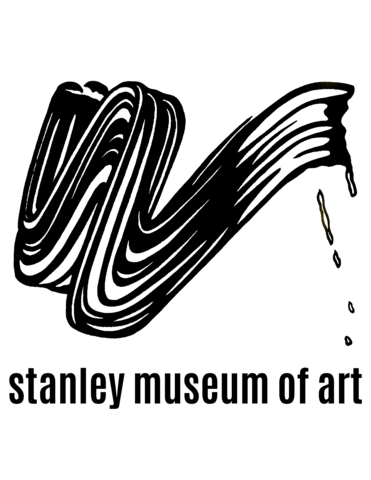
The first thing we did was decide upon a design. For the sake of simplicity (we planned to print 200 individual tote bags) we decided to go with an image that would be done in one pass--a one color image. We knew we wanted something related to the Stanley's collection, so we perused the collection database until we found a graphic image that called to us. We ultimately went with a design based off of Roy Lichtenstein's Brushstroke from 1965. Super dynamic and fun!
After selecting my design, I prepared the screen. The screens in the kit come naked--just the wood frame with the mesh stapled in. You're going to want to tape off the edges, to keep ink and emulsion and light from getting into any cracks. I used a mix of painter's tape and duct tape I had on hand to do this. If you wanted, you could split your screen into two taped off parts to do a double design, or to get to colors (two layers) on one screen. For our purposes, we just did one.
At this point, I like to begin preparing to coat my screen. The Speedball kit we used comes with two chemical components: the photo-emulsion and the sensitizer, which needs to have water added to it to rehydrate it. Once you mix these two chemicals, you end up with a light sensitive liquid, which you'll use to coat your screen. I like to coat my screen relatively early in the process, mostly because it takes a while to dry, during which time I can work on preparing my final design for exposure.

Coating the screen is a bit difficult, or at least it always has been for me. The goal is to evenly coat your screen in emulsion: you want to thoroughly coat it, but not oversaturate it. You'll also want to coat your screen in a relatively dim/ dark room, because once dry the chemical becomes light sensitive--I picked my bathroom, and did it over the tub, so I could easily wipe away any mess. I laid my screen horizontally on the edge of my tub, used one of the provided popsicle sticks to dab a bead of emulsion along your screen on one end. Then, draw your squeegee (also provided) in a smooth motion across the screen. This should coat the entire screen in emulsion. You'll probably have to do it a few times, slowly adding more emulsion, until the whole screen is lightly (but thoroughly) and evenly coated. If you end up with too much, it's easy to scoop extra back into the container.
Once you're done coating the screen, lay it to dry horizontally. I left mine in my bathtub, and set up a fan to help it dry faster. You'll want to leave it for at least a few hours, until it is completely dry. At this point, like I said, I usually turn to preparing my image to expose onto the screen.

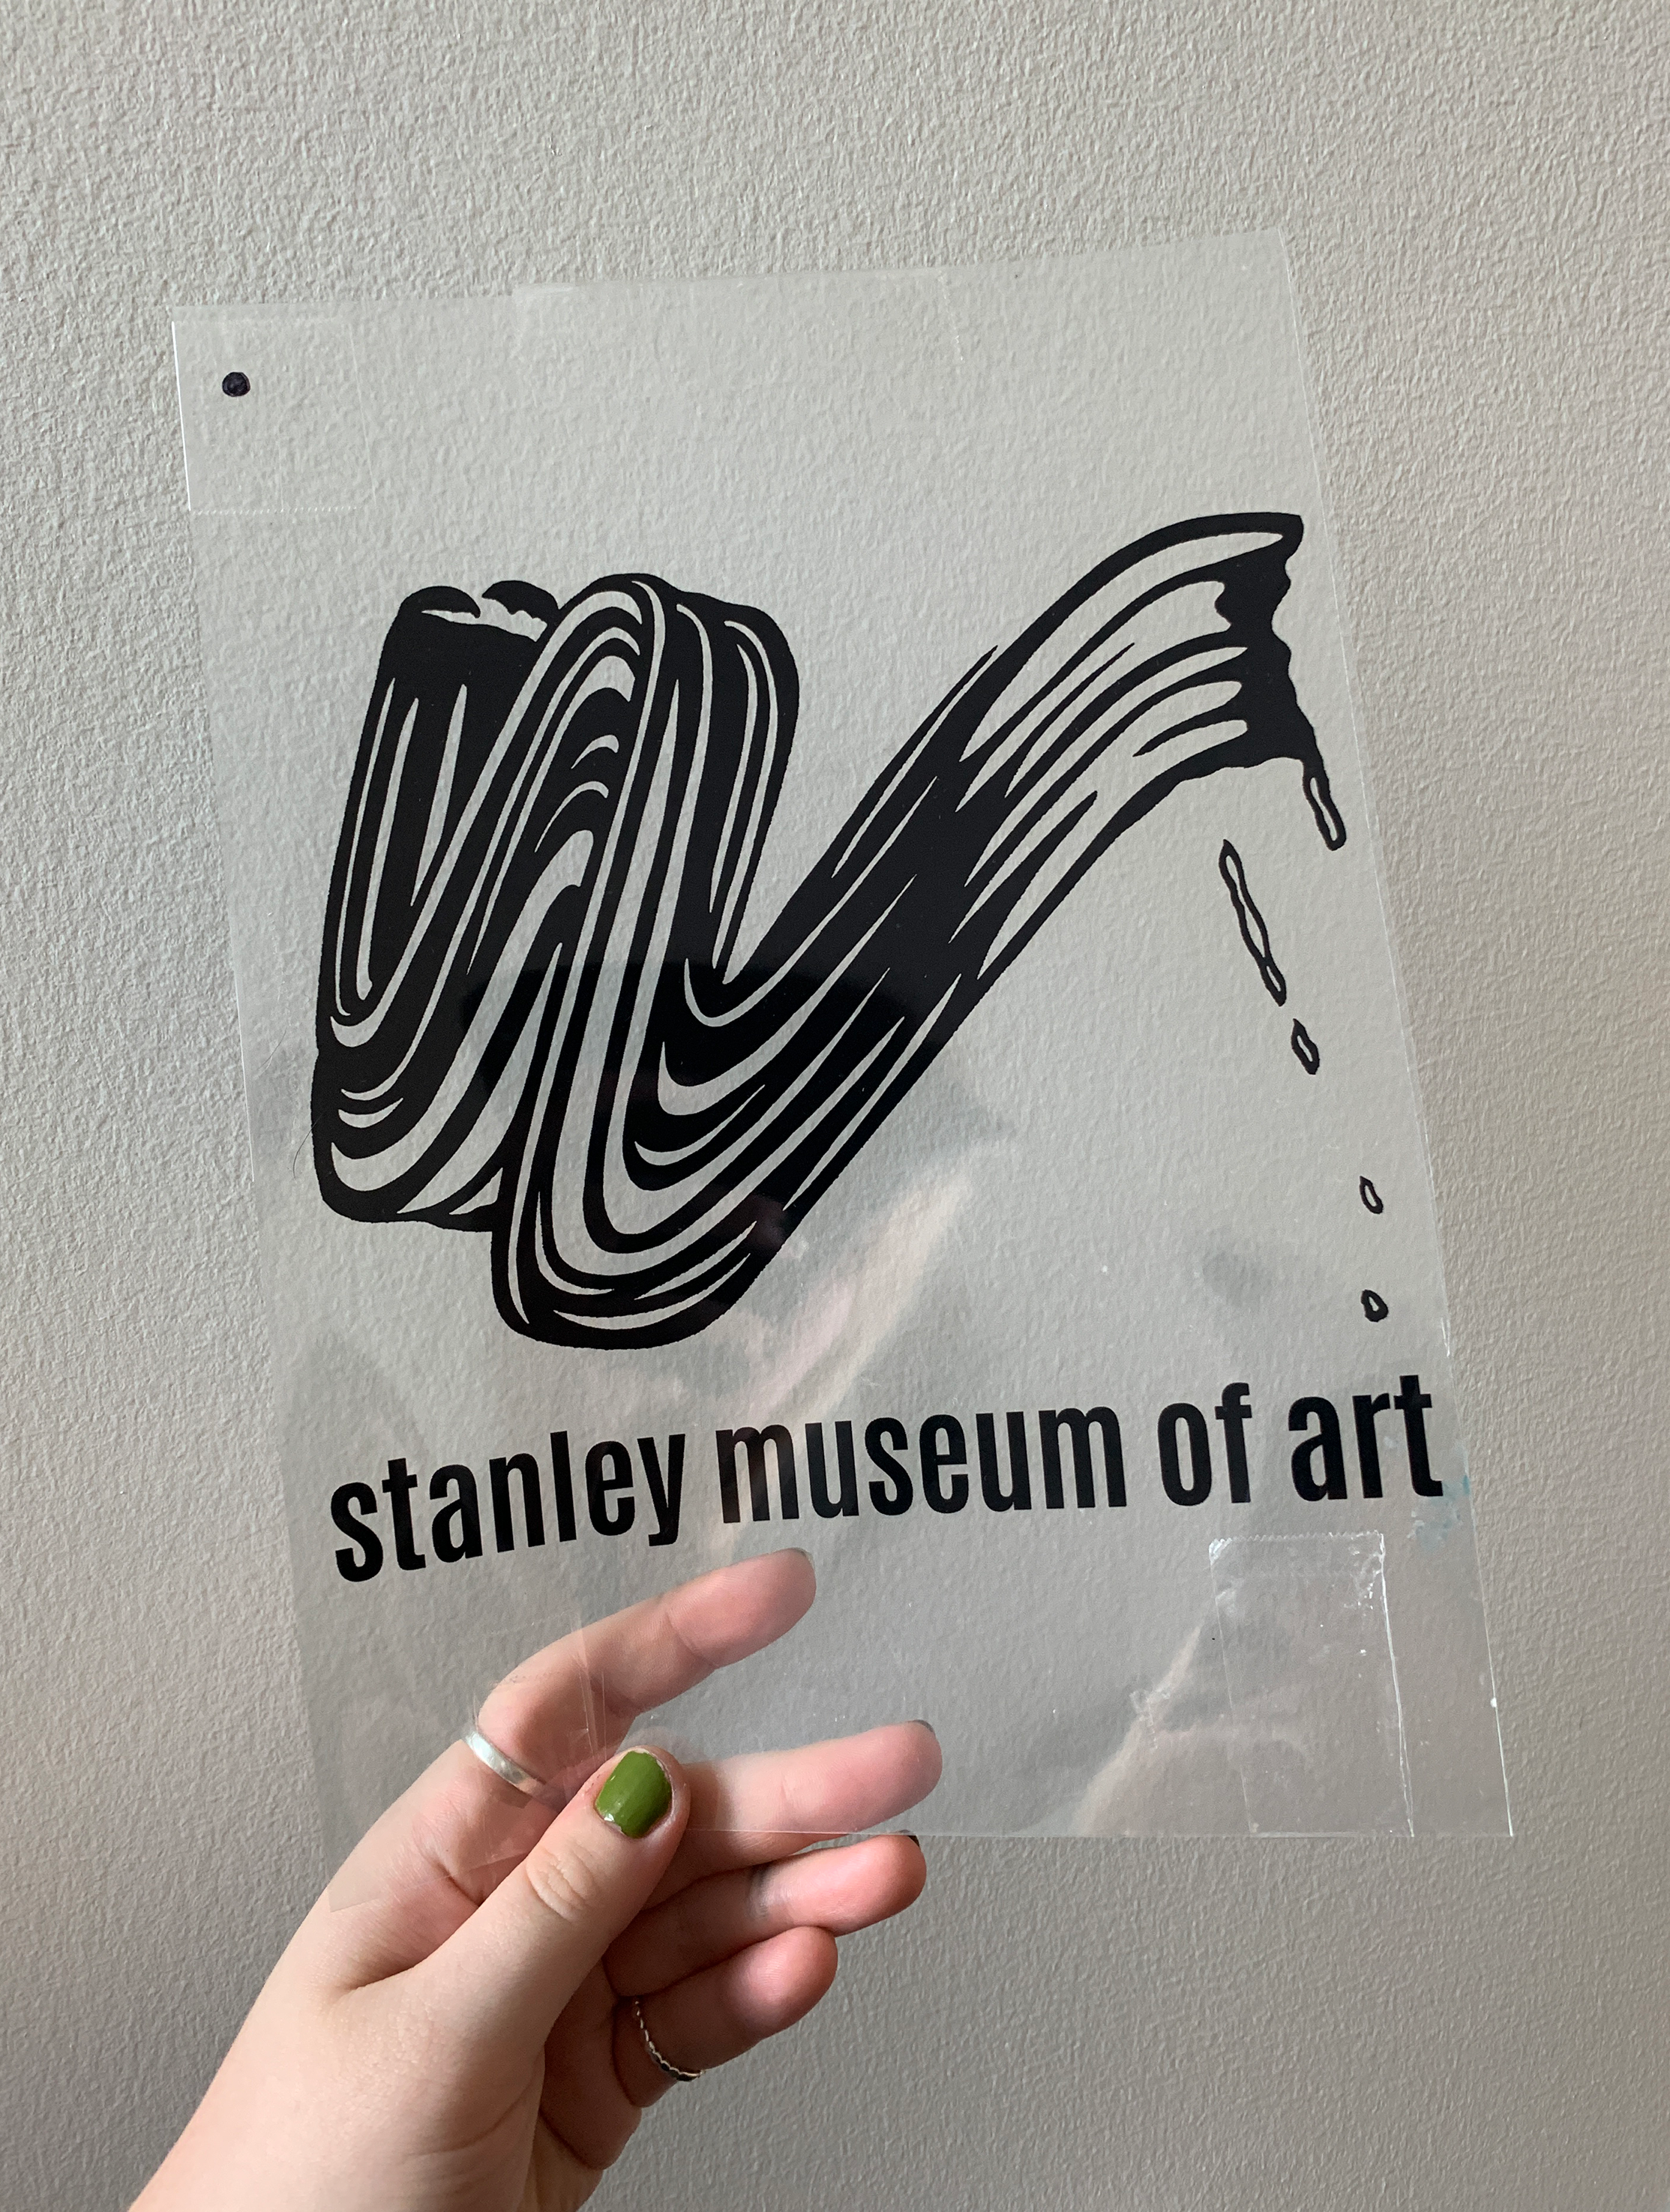
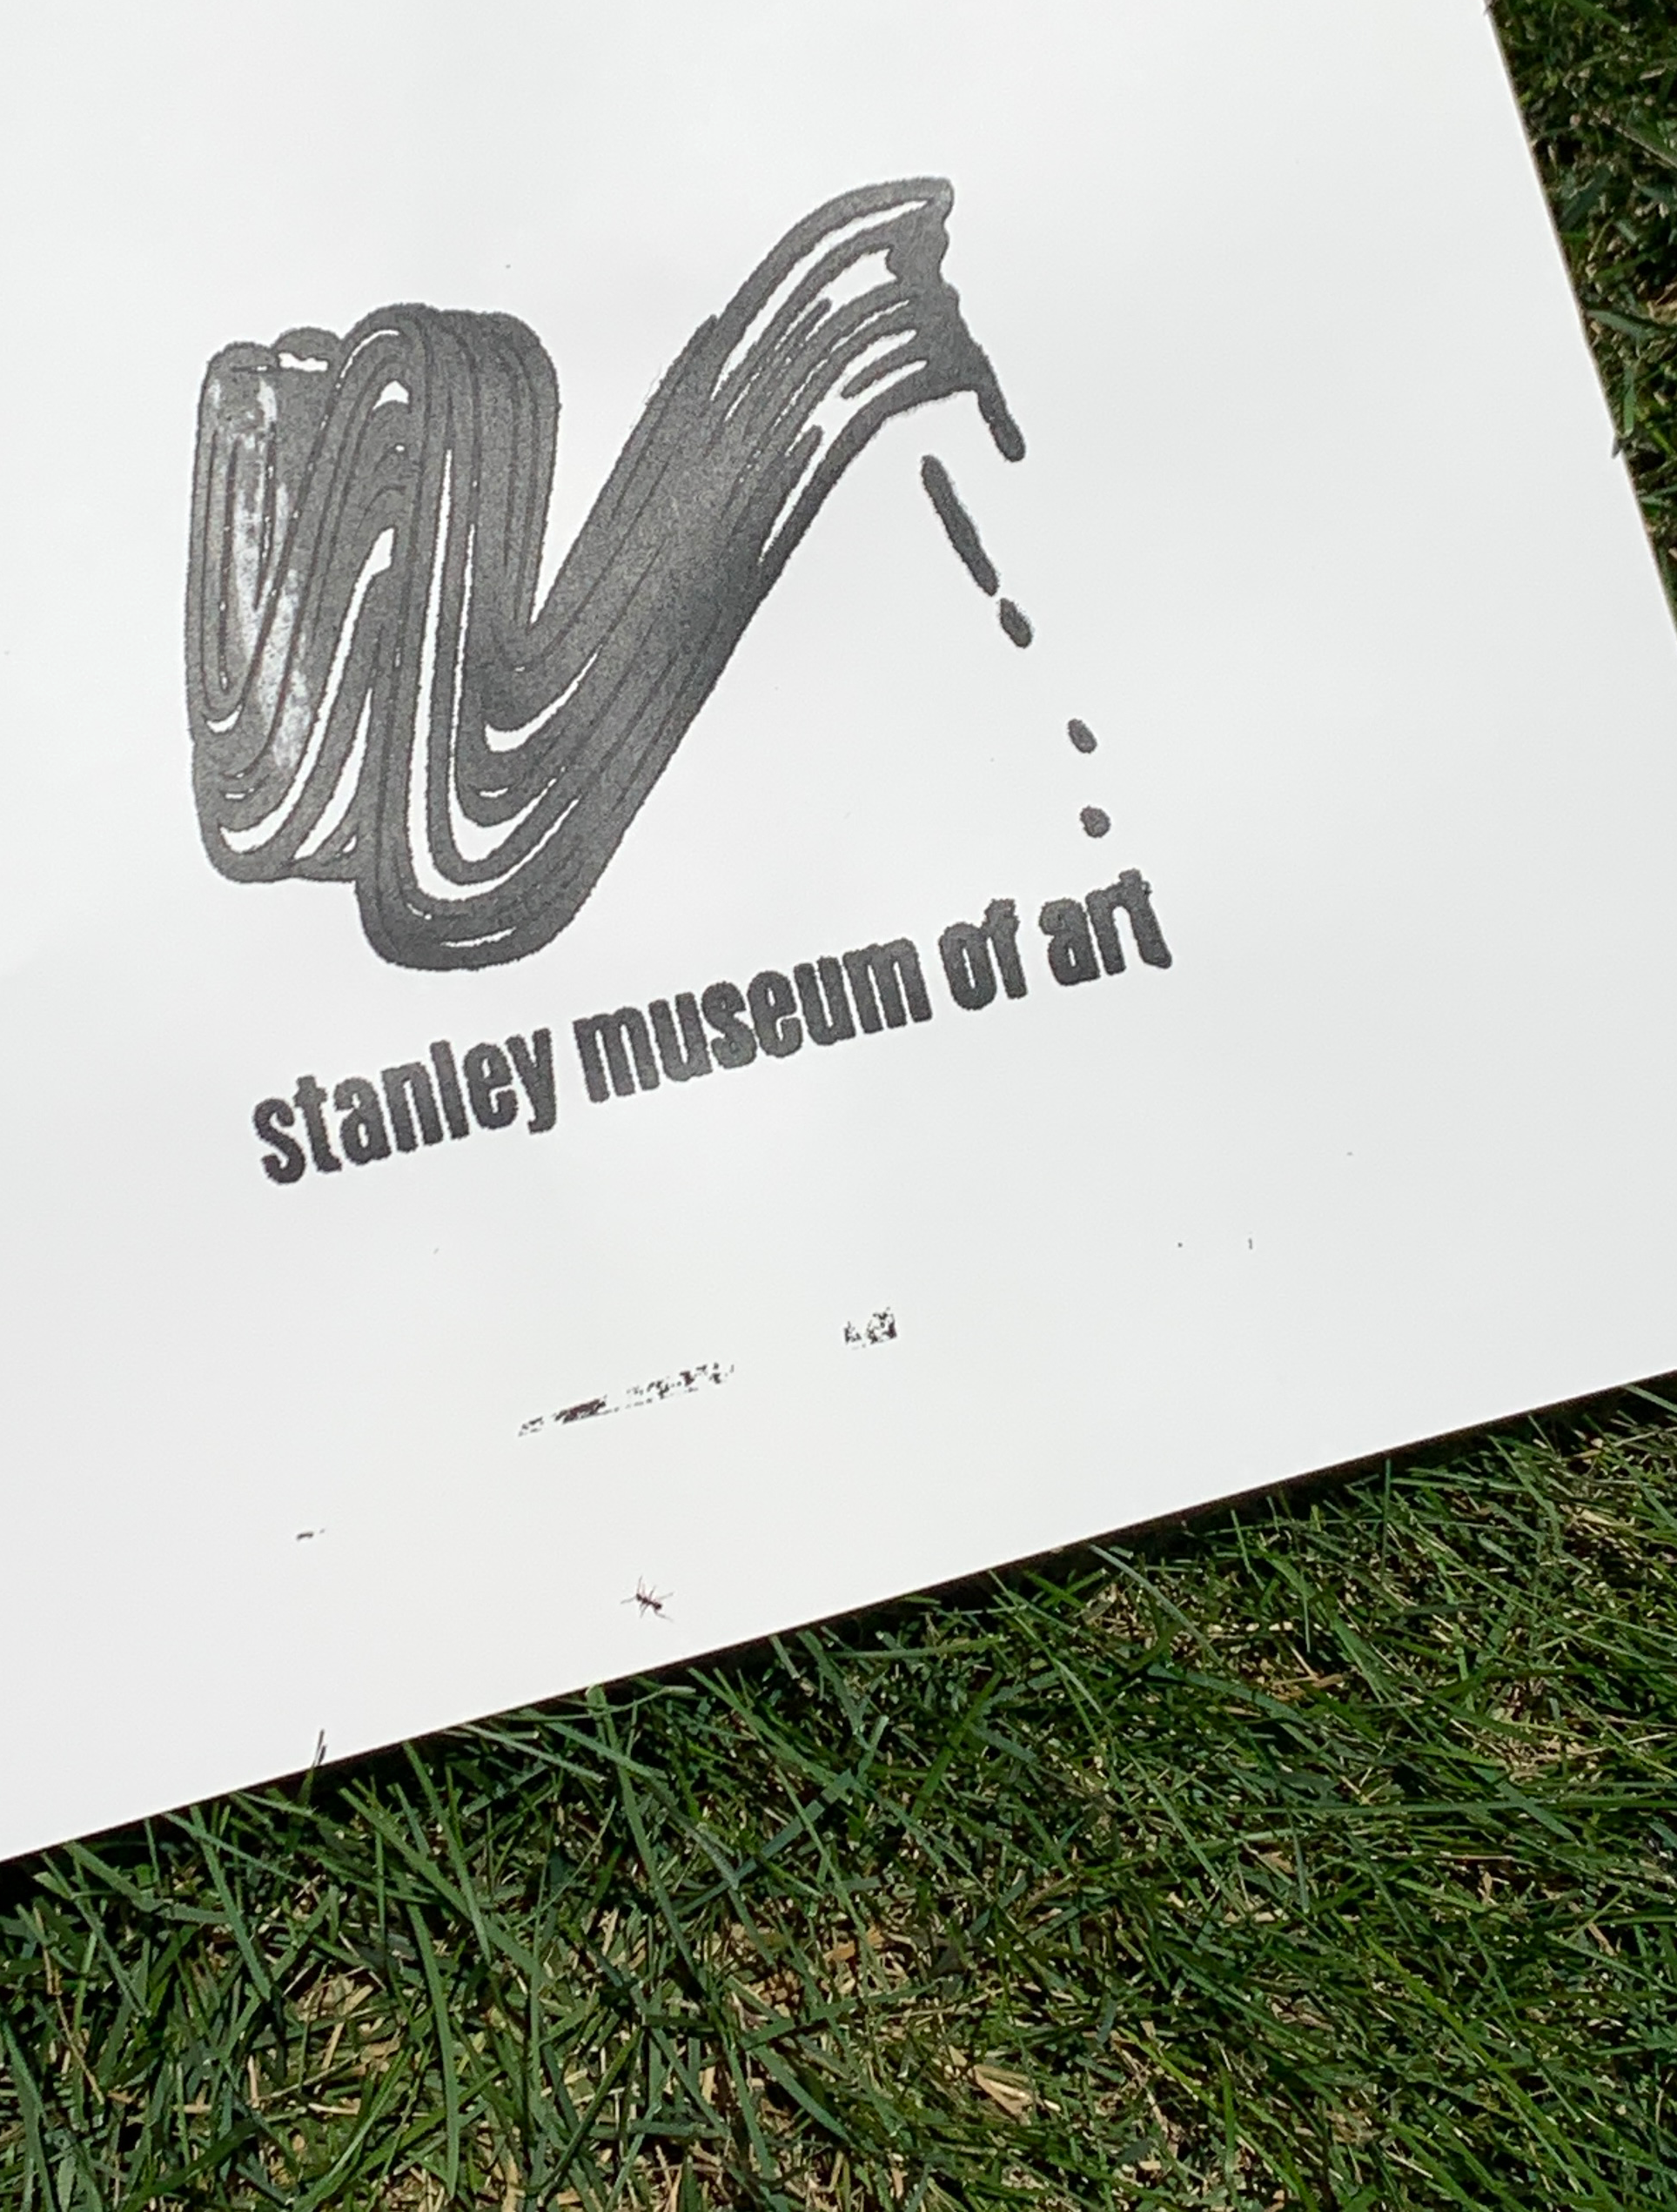
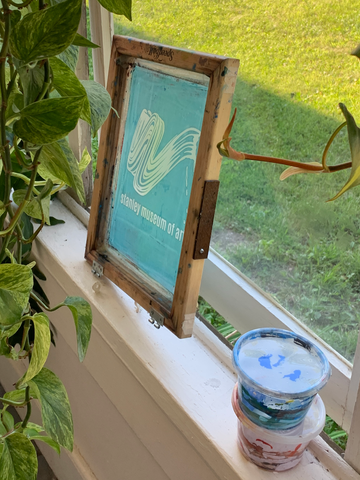
Once you've settled on the design, you'll want to make a positive. A positive, in screen printing, is essentially a high-contrast image--usually, black versus white. You'll use your positive to expose your screen--where the positive is black will end up being what you print. There are a few ways to make a positive--you can draw or paint using black ink or sharpie on plexiglass or acetate, or, what is most common, is you can use a printer to print your image onto a mylar sheet or transparency paper (this was provided in our kit). Also, UI Printing will be able to help you with this! You'll likely want to go into photoshop and make yourself an image that is black on top of a transparent background.
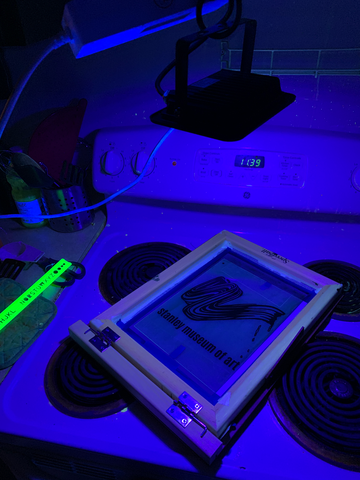
Once the positive is ready and your screen is dry, it's time to expose! I did this at night, in my kitchen, with the lamp provided in the kit we bought. Also within the kit were instructions about timing and lamp height, so if you can, follow that for your situation. For me, we were using screens that measured 10 x 14 inches, so the instructions suggested setting your lamp up at a height of 16 inches from your screen and exposing for 8 minutes. So that's what I did! I set up as instructed on top of my stove, which was the easiest place for me to do it. You'll want to have a black paper (or t shirt, foam core, anything) on the bottom, then your screen, and then your positive. The instructions recommended using a piece of glass to hold your positive in place on the screen to get the clearest sharpest image, but I didn't have glass--so I just taped it on. And then I turned the lamp on for 8 minutes and blinded myself staring into the light (not really, but kind of).
Once you've exposed your screen, you'll want to head to the sink (I went back to my bathtub). The light will have hardened the emulsion in the spots where your positive wasn't--these parts of the screen will remain, and the parts you blocked from the light with your positive image will wash out. Spray your screen with water until the image is clear. Woohoo! You've done it! At this point, you'll need to let your screen dry again. I like to dry them horizontally again, with a fan to expedite the process.
Then... it's time to print! The real fun part.
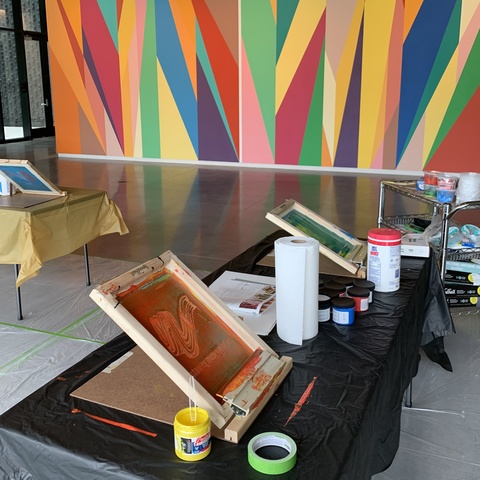
It was really nice that the kit we used came with a frame base and hinge clamps--this made it very easy to set up and print quickly without making a huge mess. Another important thing we had to consider for printing on tote bags was that we didn't want the prints to bleed--so we had to cut down scraps of cardboard to fit inside of the tote bags and sop up any extra ink that bled through the front of the bag.
To make a print, you're going to want to scoop out a few tablespoons of ink and apply them to the top of your screen, above your image--you don't want any ink to start sitting on the open mesh of your image. I started with a test print on paper, so I just used the ink straight from the jar--once it came time to print on tote bags, though, I experimented with mixing my own colors. Then, using your squeegee at a 60 degree angle, you place it behind the ink... and in one full, even motion, pull the squeegee down towards you. The instructions for our kit describe the amount of pressure you should use as akin to the pressure needed to open a heavy door.

You'll want to stop pulling your squeegee down before you reach the bottom of the screen. You'll then lift the screen slightly, place your squeegee in front of the bead of ink left at the bottom of your screen, and "flood" it back over to the top of the screen where you started, using little to no pressure. Lift the squeegee again, and set it behind the ink at the top of the screen until you're ready to make your next print.
Et voila! You've made a print. Now you may be thinking: WOW that's a lot of work! And yes, yes it is. But it is oh so rewarding and fun to have something you made with your own hands come to life... repeatedly! Such is the beauty of printmaking.
Thanks for reading if you got this far! If you're interested in trying printmaking yourself, let us know how it goes. If you've got any questions, feel free to slide into our Instagram DMs and ask.
If you were able to snag a tote bag at the Student Kickoff, we appreciate you attending the event. And if you arrived after they were all gone... we are so sorry! We are hoping to do more events like that in the future, which would be really fun. So keep an eye out!